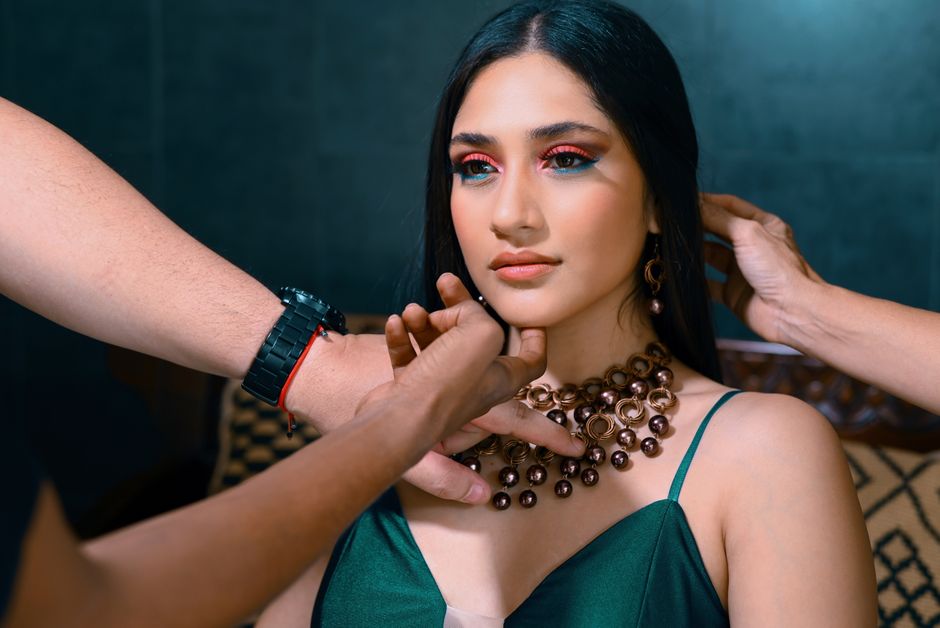
A single oversized earring can change how wide your face looks, while a tiny pendant can disappear against a textured sweater. That shift has little to do with price. It comes from proportion, visual weight, and repetition.
Use everyday jewelry styling as an editing task. Start with the clothes already on your body, decide where the eye should land, then remove anything that competes with that point. The goal is not to wear more pieces. The goal is to make the outfit look intentional in under five minutes.
Start with the outfit, not the jewelry
Find the outfit’s strongest visual feature
Before opening a jewelry box, identify the loudest part of the outfit. It may be a wide neckline, a striped shirt, a bright handbag, a sharp collar, a large print, or a pair of sculptural shoes. That feature already has visual weight. Jewelry should support it, balance it, or stay quiet beside it.
For example, a crew-neck T-shirt creates a clean band around the neck. A short chain or close-fitting pendant can echo that shape. A deep V-neck creates an open vertical space, so a pendant with a longer drop often looks more connected to the clothing. A chunky knit has surface texture; smooth metal usually looks cleaner than a heavily detailed charm.
Measure visual weight in three places
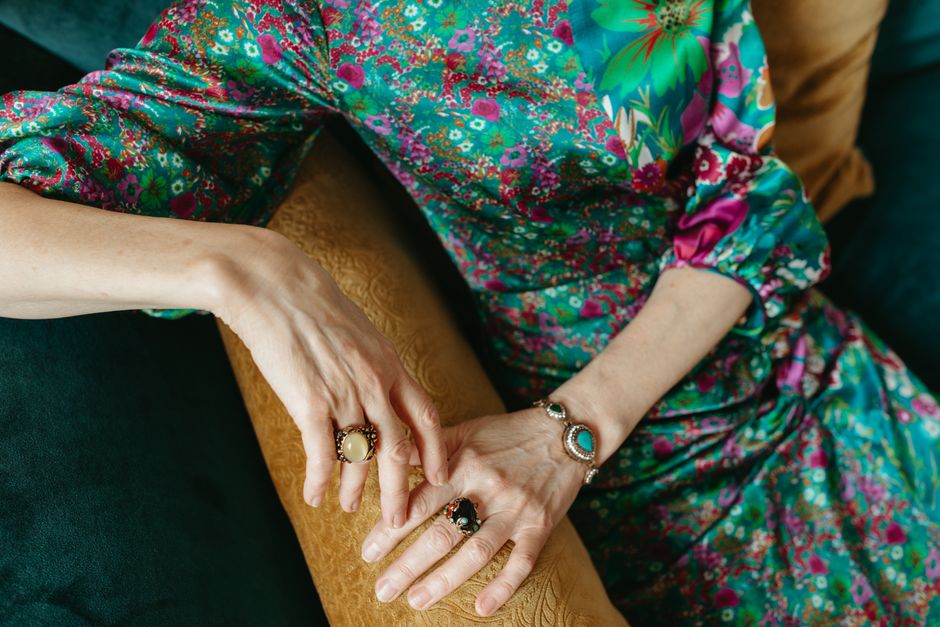
Check the neckline, ears, and hands. These are the areas where everyday jewelry usually collects. If the neckline is busy, keep the necklace simple and move interest to the ears. If the earrings are wide or bright, keep the necklace close to the skin. If the outfit includes a watch, rings, and a bracelet, the hands already have enough activity for a plain necklace.
Take one quick mirror photo from the waist up. Squint at it. The first area that catches your eye is the outfit’s anchor. Jewelry should create a clear second point, not five competing ones. Verdict: choose jewelry as a response to the clothing’s strongest feature, never as a separate outfit built on top of it.
Use this scale chart to match jewelry to clothing
The proportion check
Use the chart below as a starting point, then check the full outfit in a mirror. The measurements are not strict rules. They give you a useful default when a look feels vague or unfinished.
| Clothing situation | Best starting scale | Strongest choice |
|---|---|---|
| Plain T-shirt or fine-knit top | 10–20 mm earrings; 16–18 inch necklace | One polished focal piece |
| Thick sweater or textured knit | 15–30 mm earrings; smooth pendant | Simple shapes with clear edges |
| Large print or strong stripes | 8–15 mm earrings; minimal necklace | Small pieces that do not repeat the print |
| Blazer with open shirt collar | 20–35 mm earrings; 18–24 inch necklace | One long line or one bold earring |
| High neckline or turtleneck | 15–30 mm earrings; necklace optional | Move the focal point toward the face |
How to adjust the chart
Scale should follow the amount of fabric around the piece. A delicate 10 mm stud can look lost beside a thick scarf, while a 35 mm hoop can overpower a thin camisole. The same earring can also look different with hair up or down. Hair worn loose adds softness and width, so a sharper or slightly larger earring may restore balance.
Use a ruler when you need a quick reality check. Many pieces look small in a product photo but much larger on the ear or chest. Hold a paper circle against your face at 10, 20, and 30 mm. This takes less than a minute and prevents the common mistake of buying a dramatic size for an outfit that needs restraint. Verdict: when you are unsure, match the jewelry’s width to the clothing’s visual weight, then reduce one piece.
Choose one metal tone with a deliberate exception
Step 1: Read the outfit’s color temperature
Warm colors such as camel, rust, olive, cream, and chocolate usually sit easily with yellow gold or bronze. Cool colors such as blue, gray, crisp white, lilac, and icy pink often pair cleanly with silver or white gold. Black works with every metal, but the rest of the outfit decides the mood: yellow gold makes black feel warmer, while silver keeps it sharper.
Step 2: Match the metal to your contrast level
- Choose gold when the outfit has warm neutrals, soft fabrics, or low contrast.
- Choose silver when the outfit has cool colors, high contrast, or a crisp tailored shape.
- Choose rose gold when the outfit has muted pink, peach, burgundy, or warm beige and you want a softer result.
- Choose mixed metals only after one tone already appears at least twice.
- Repeat the chosen tone near the face and hands if you want the outfit to look connected.
Mixed metals work best when the bridge is obvious. A two-tone watch, a necklace with both gold and silver links, or one ring combining both finishes can connect separate pieces. Randomly wearing a silver chain, yellow-gold hoops, and a rose-gold watch often looks accidental because nothing explains the combination.
Do not treat skin undertone as a restriction. Your shirt, glasses, belt buckle, and bag hardware are more useful clues for daily styling. Verdict: build the outfit around one dominant metal tone and add a second only when a visible bridge makes the choice look intentional.
Edit a stack before it starts shouting
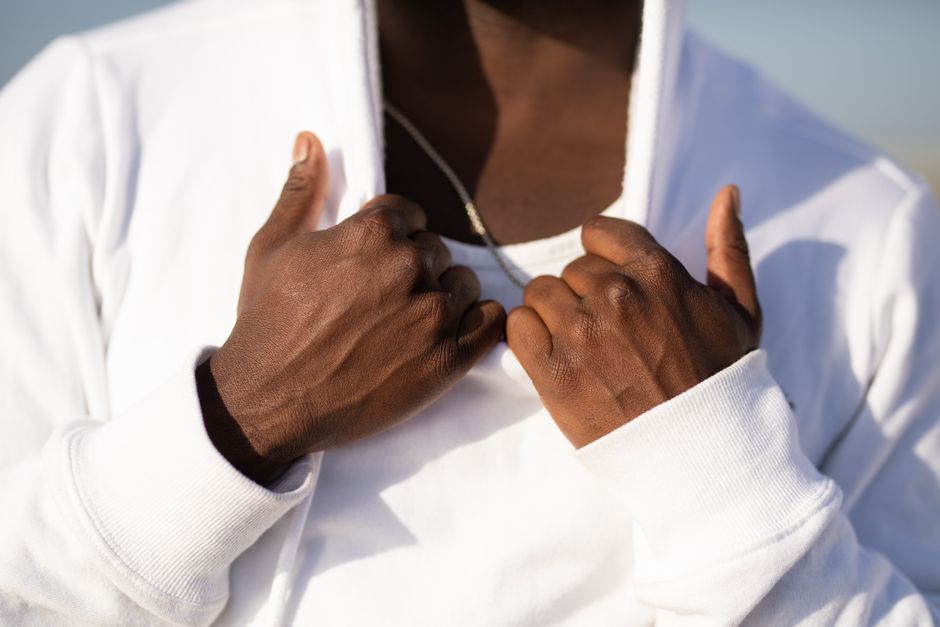
My strongest recommendation: use the two-and-out rule for everyday jewelry. Keep two visual zones active and make the third quiet. For example, wear noticeable hoops and two rings, then skip the necklace. Or wear a pendant and a watch, then use small studs instead of large earrings.
Remove the piece that repeats information
Repetition is useful when it creates rhythm, but too much repetition makes a look feel crowded. A gold watch, gold cuff, three gold rings, gold hoops, and a gold chain all repeat the same message. Remove the least useful piece, usually the one hidden by hair or sleeves. Jewelry should be seen clearly to earn its place.
Fix the common stacking mistakes
- Too many focal points: Keep one dominant piece, one supporting piece, and let the rest recede.
- Wrong scale: Pair a large hoop with a thin ring before adding another large item.
- Competing necklines: Do not force a necklace into a collar, scarf, or high crew neck.
- Uneven distribution: If both ears and the neck are busy, keep the hands nearly bare.
- No pause: Leave visible skin between stacked bracelets or rings so each piece can be read.
Walk ten steps away from the mirror. If the jewelry still reads as one cluttered shape, remove the piece closest to the outfit’s busiest area. If the look becomes flat, add back only the smallest item. Verdict: editing one piece out usually improves an everyday stack more than adding a new piece in.
Know when the outfit already has enough
Use the removal test
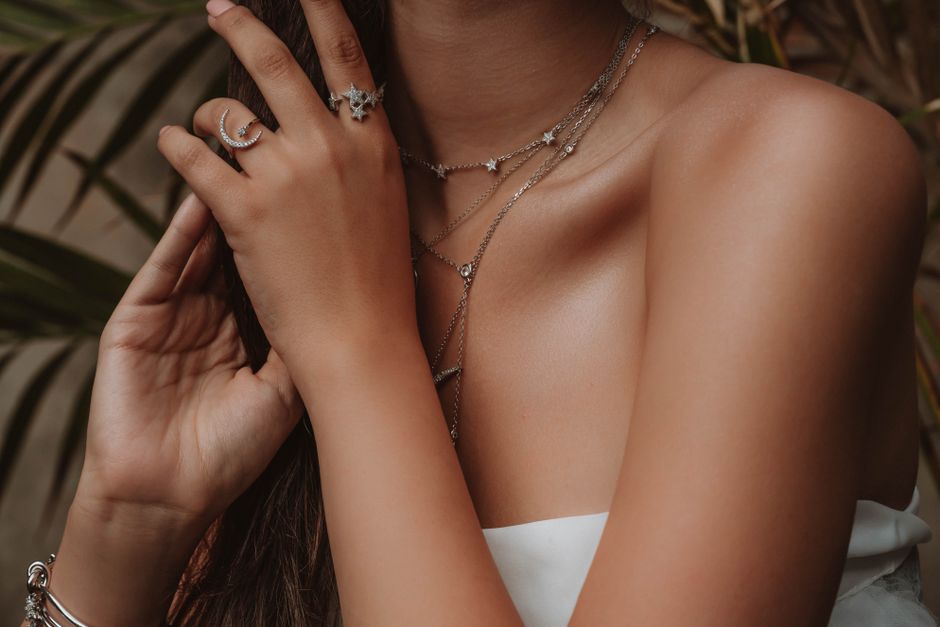
Take off one item and compare both versions in the mirror. If the outfit looks clearer without it, the piece was decoration rather than structure. If the outfit suddenly feels unfinished, put it back and remove a different item. This test works because jewelry affects balance only when it changes the way the eye moves through the outfit.
Stop when these signals appear
- The necklace touches a busy print and disappears into it.
- The earrings, glasses, and collar all occupy the same small area.
- The watch, bracelets, and rings merge into one dark or shiny block.
- You keep adjusting the pieces instead of adjusting the clothing.
- The jewelry is the first thing you notice, but it does not support the outfit’s main idea.
There is no required number of pieces. A white shirt with small hoops and a watch may be complete. A black dress may need one long pendant. Jeans and a sweatshirt may look finished with only a ring. The right stopping point is the moment the clothing and jewelry read as one decision.
For ordinary clothes, restraint has a practical benefit: you can repeat the same small set of pieces across many outfits without creating a uniform look. Change the focal zone, change the metal balance, or remove one layer before buying anything new. Verdict: stop when removing another piece would make the outfit less balanced, not when the jewelry box is empty.
The single most important takeaway: match jewelry scale to the outfit, choose one dominant metal, and remove one piece before you decide the look is finished.